
Double-layered Chocolate Fudge Cake
Last updated: Tue 19 Aug 2025 12:06:49 UTC
Here’s a delicious double-layered chocolate fudge cake that is something of my mum’s speciality. It’s complicated and I should warn that nobody has seemed to get it down as well as she has but it’s well worth the effort if you love chocolate and have the time and patience.
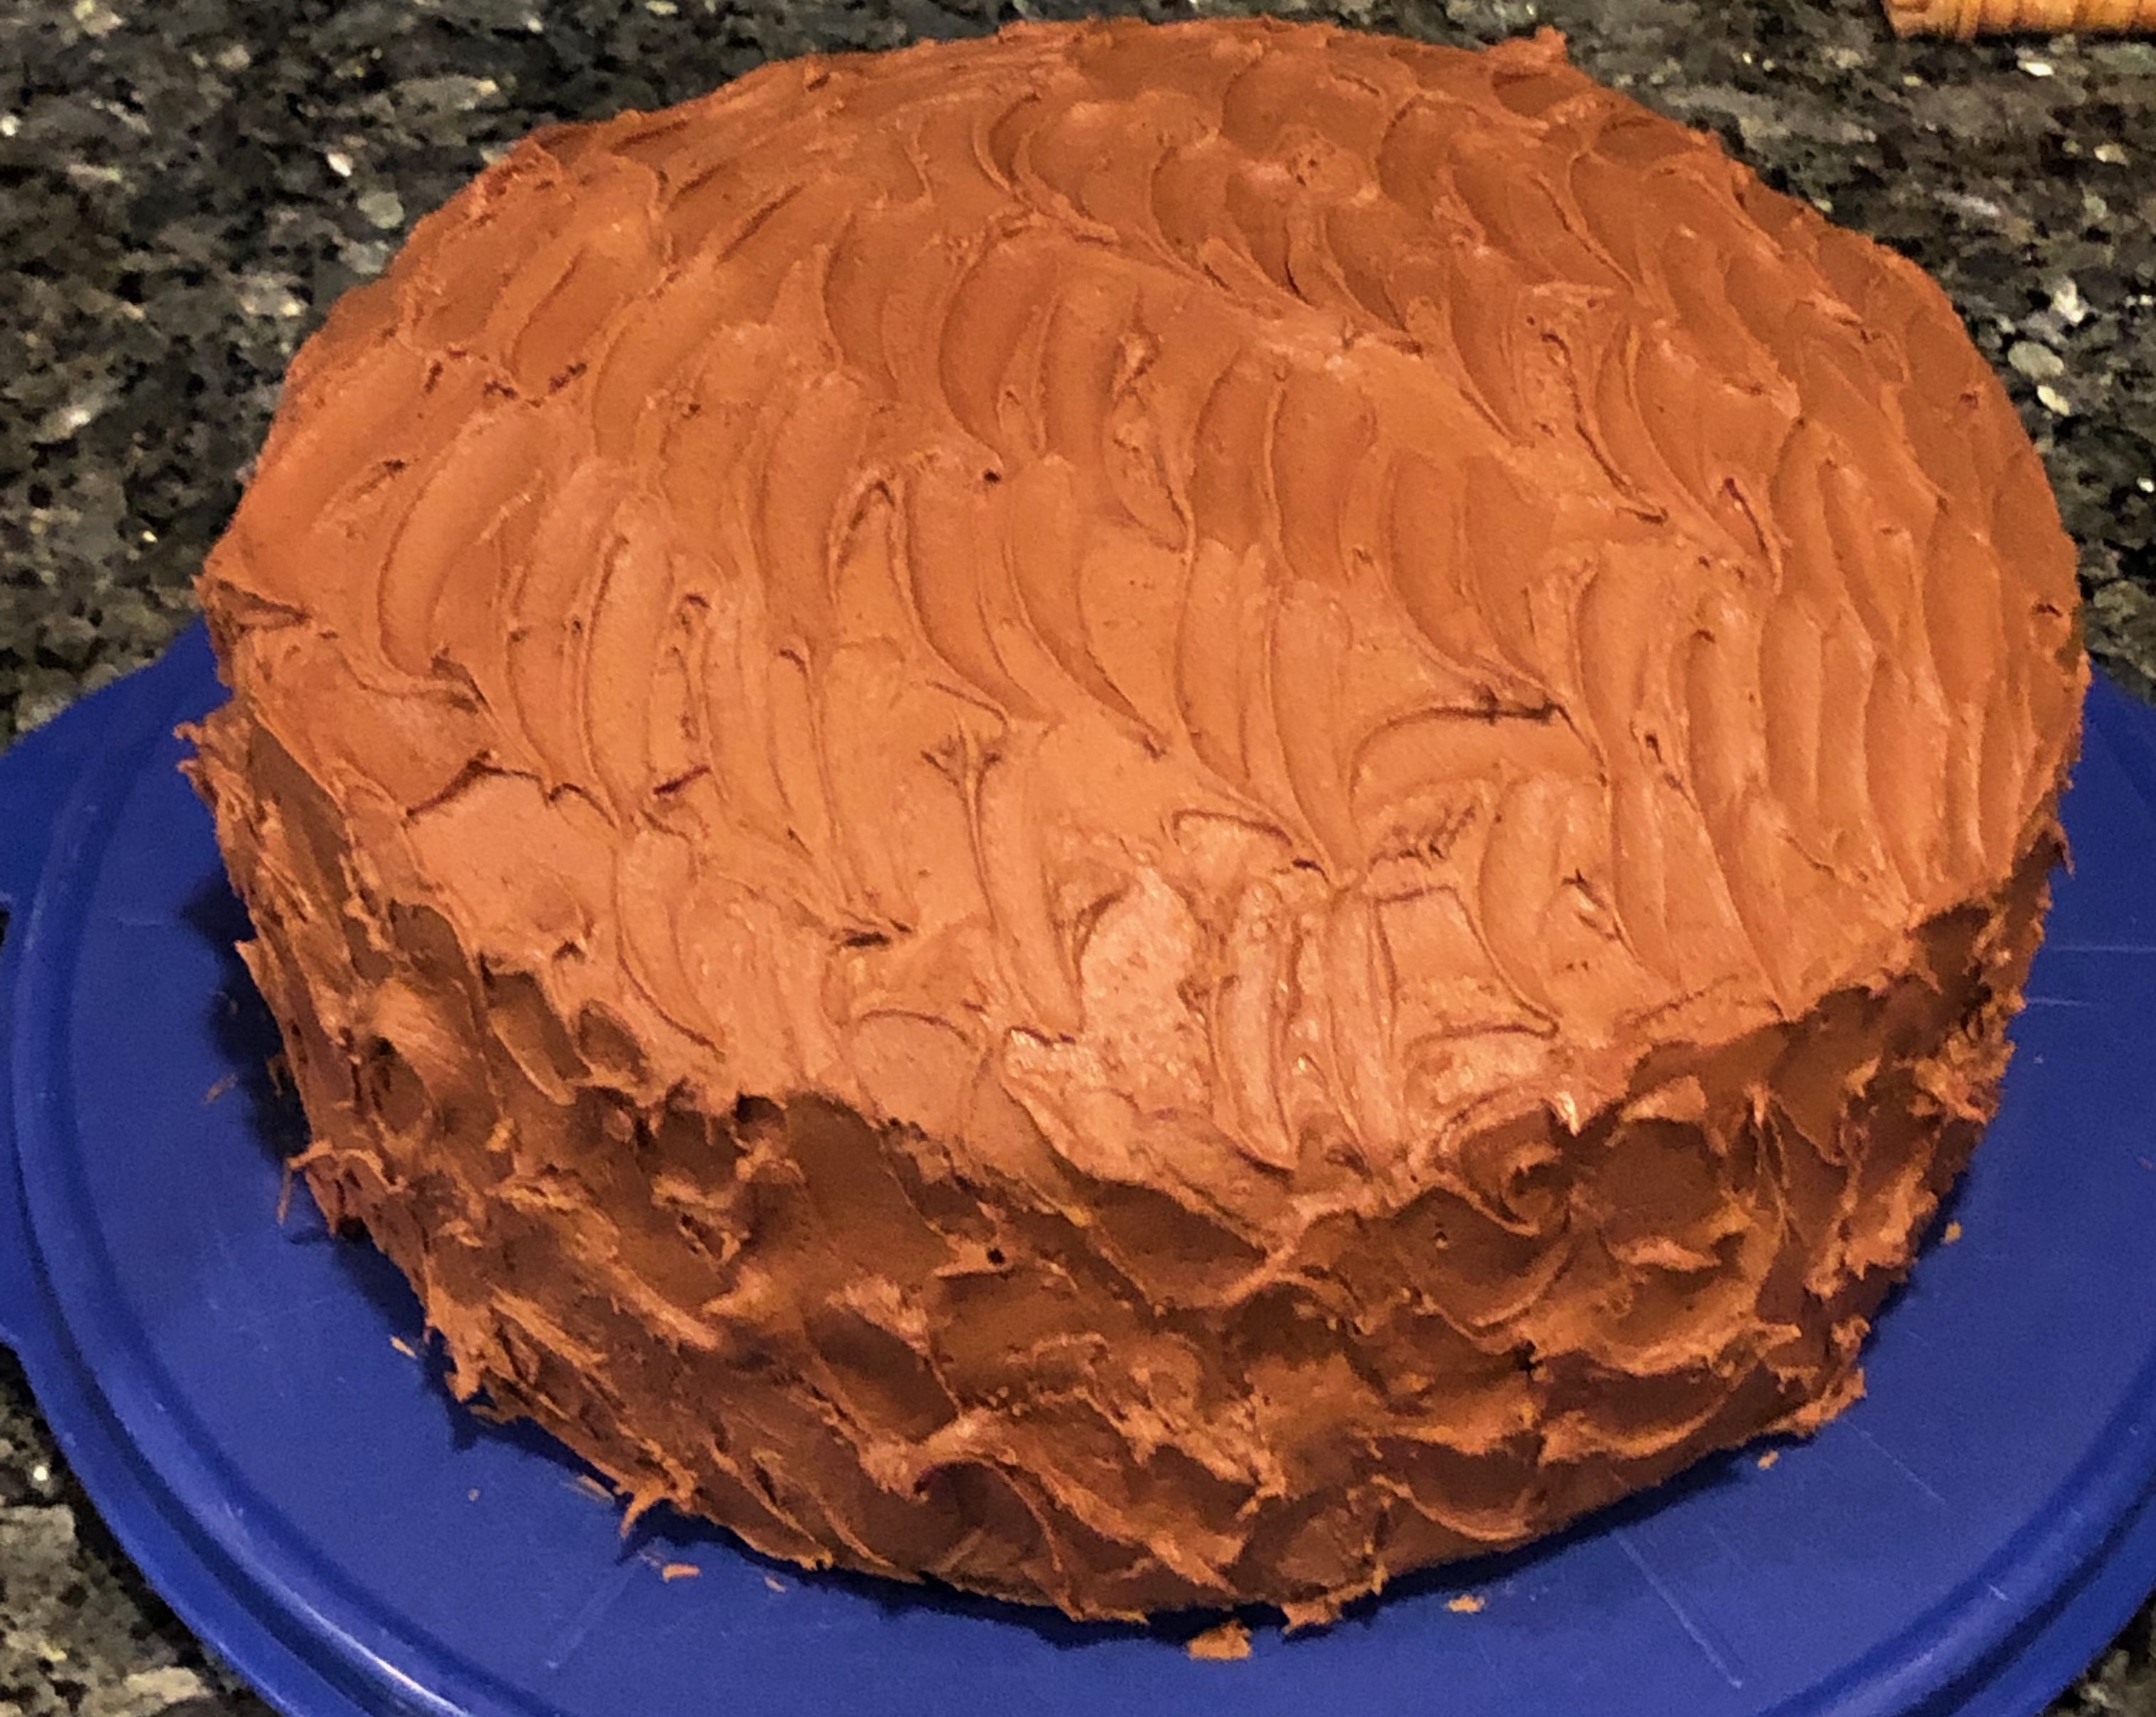
My late stepmum who only liked white ‘chocolate’ loved this cake! The picture below was taken for my birthday (14 February) in 2022 as it’s the best one I have:
There are two sets of ingredients and instructions; the cake and the icing. In addition there are some VERY IMPORTANT NOTES to pay attention to; some will be repeated because they’re VITALLY IMPORTANT for the quality of the cake. That cannot be overstated.
Below I have included the ingredients separately but I include them within the instructions as well and in bold. Also in bold are some of the special notes.
Finally note that depending on where you are in the world this might not work in the warmer months of the year and for the icing in particular.
Above all, ENJOY, and I’D LOVE TO SEE PHOTOS AND HEAR WHAT YOU THINK at @xexyl@fosstodon.org. Questions also welcome there of course. Please make sure to mention me so I get a push notification as I don’t check it very often. Thanks and again enjoy!
Measurements
This was originally taken from an American magazine for women so the measurements are in the US standards. There is a nice resource that has much more than just cooking). This will particularly matter for cups, teaspoons, tablespoons and ounces.
Baker’s chocolate
Baker’s chocolate is a brand name and the product in question is unsweetened chocolate bars used for baking. According to a chocolates FAQ it might be called different things:
Bitter chocolate contains no sugar and is often called ‘unsweetened’ or ‘baking’ chocolate. In some countries it’s called 100% cacao since it’s composed only of ground up cocoa beans, and nothing else.
The FAQ suggests that you might have to look for a baking supply shop but I cannot offer any specific advice other than it’s unsweetened chocolate bars for baking. The FAQ talks about what looks like substitutes but I have no idea what that would turn out as; I somehow suspect it wouldn’t be good.
Either way PLEASE STILL PAY ATTENTION TO ALL THE NOTES on the chocolate IN THE RECIPE and RECIPE NOTES BECAUSE THEY’RE EXTREMELY IMPORTANT!
Special notes for the cake
PAY CLOSE ATTENTION TO THESE:
USE MARGARINE! DO NOT USE BUTTER! Butter does not work well. If you think it will come out better by using butter you’re very mistaken; it will come out badly! People have come back saying it didn’t come out well and they are asked if they used butter or margarine. They had used butter because they ‘know better’ but they were very wrong and it is why the cake was ruined.
Over the years they changed the size of the unsweetened chocolate squares; they used to be one ounce each; now they are 1/4 ounce each square so be sure to remember that THE AMOUNT IS BY OUNCE NOT SQUARES AS LISTED. See the measurements link if there’s any doubt.
Pay careful attention to the COOK FOR ONLY THE INDICATED TIME part. Note that if your oven cooks a bit hotter you might have to adjust the timing a bit. This is likely the case if the cake comes out a little bit dry.
REMOVE THE CAKE FROM THE PANS 2 MINUTES AFTER REMOVING FROM OVEN and then allow to FULLY COOL ON RACKS! The important point is to MAKE SURE THAT THEY DON’T OVERCOOK.
USE WHOLE MILK! Don’t try skim milk or whatever per cent of fat milk you have.
Use ONLY PURE VANILLA EXTRACT! DO NOT USE IMITATION VANILLA! Not following this rule will lead to a worse outcome, including with the icing.
Cake Ingredients
- 3 oz unsweetened (Baker’s) chocolate
- 2 and 1/4 cups flour
- 2 tbsp baking soda
- 1/2 tsp salt
- 2 and 1/4 cups packed brown sugar
- 3 eggs
- 1 and 1/2 tsp PURE VANILLA EXTRACT (NOT IMITATION VANILLA!)
- 1/2 cup MARGARINE (NOT BUTTER!)
- 1 cup (boiling) water
- 1 cup sour cream
Cake Preparation
Lightly grease TWO 9 x 1.5 INCH ROUND PANS with shortening and then lightly dust with flour. Even if you have a non-stick cake pan you should do this! We have had it happen before (and I have seen it in other foods as well) where the cake sticks to the pan. You do not want this to happen!
Preheat oven to 350 F / 176.67 C.
Turn on the air conditioning if you need :-)
Cake Directions
Melt 3 OZ UNSWEETENED CHOCOLATE in double boiler or small bowl over hot (BUT NOT BOILING) water; let cool whilst proceeding.
Sift 2 and 1/4 CUPS FLOUR, 2 TSP BAKING SODA, and 1/2 TSP SALT
Beat 1 STICK MARGARINE (NOT BUTTER!) in large bowl until soft. Again MARGARINE, NOT BUTTER!
Add 2 and 1/4 CUPS PACKED BROWN SUGAR and 3 EGGS. Beat until light and fluffy.
Beat in 1 1/2 TSP PURE VANILLA EXTRACT (NOT IMITATION VANILLA!) and COOLED MELTED CHOCOLATE.
Stir in dry ingredients alternately with 1 CUP SOUR CREAM; always beat until smooth.
Stir in 1 CUP BOILING WATER.
Pour into prepared pans.
Bake for ONLY 35 MINUTES (NO LONGER!) at 350 F / 176.67 C.
When you take the cake out put the cake pans on a cooling rack for **_ONLY TWO MINUTES AND THEN IMMEDIATELY TURN CAKES OUT ON TO RACK. Let COOL COMPLETELY!**
Assuming you use round cake pans, if everything is okay, it might look something like this after pulling it out of the oven and putting it on cooling racks, though these are very old cake pans and cooling racks:

Cake tips
It might be helpful if you have everything out before you start making the cake. It can also be helpful if you put things away after you use them.
A double boiler does help but as long as it melts fine it should be okay.
Keep in mind they no longer make things like they used to, and unfortunately some of the things are not made as good as they once were, so you’ll have to make do with what you have available. We have VERY OLD brushes to grease pans and from what we have seen what they make now is harder to work with. But as long as you do grease it okay it should be fine. Again even if you have a non-stick pan do this!
If you have a little batter left (but it should be very little) you might enjoy tasting it. On the other hand you should NOT taste the melted chocolate unless you like it bitter :-) (don’t worry - it’ll be the opposite of bitter in the cake). And yes at least one of us has tried this before, probably multiple times.
You DO NOT HAVE to use round cake pans but they work nicely (and are great for double layer cakes).
Icing Ingredients
- 4 oz unsweetened chocolate (Baker’s chocolate)
- 1/2 cup MARGARINE (NOT BUTTER!)
- 4 cups powdered sugar
- 1/2 cup whole milk
- 2 tsp PURE VANILLA EXTRACT (NOT IMITATION VANILLA!)
You will also need a bigger pan or bowl that can have ice water that the icing bowl can sit in.
Special notes for the icing
PAY CLOSE ATTENTION TO THESE:
MAKE SURE that the melted chocolate and MARGARINE (NOT BUTTER!) do not get solid.
For step #4 put 8 to 10 ICE CUBES in a pan or big bowl (that’s big enough that another bowl can fit in it). ADD AN INCH OF WATER and SET THE BOWL WITH THE ICING IN THE PAN OR BOWL of ice water. DO NOT LET THE ICING GET WET!
DO NOT LET ICING GET TOO THICK.
USE WHOLE MILK! Don’t try skim milk or whatever per cent of fat milk you have.
Use ONLY PURE VANILLA EXTRACT! DO NOT USE IMITATION VANILLA! Not following this rule will lead to a worse outcome. As I recall the icing was quite a bit worse (but still chocolaty at least) the times we had imitation vanilla (simply because we couldn’t get pure vanilla at the time we needed it). Just don’t do it.
When the recipe was first written they sold powdered sugar in a box; now it’s confectionery sugar in a bag. My mum experimented with the amount and found that 4 cups seems about right. This can be adjusted to your taste.
If you have leftover icing after icing the cake, for next time, it might be that you didn’t put as much between the layers as we do. Of course you could put it elsewhere if you wish to.
Icing Directions
Combine 4 OZ UNSWEETENED CHOCOLATE and 1/2 CUP MARGARINE (NOT BUTTER!) in pan. Melt and remove from heat. DO NOT LET IT GET SOLID!
Combine 4 CUPS POWDERED SUGAR, 1/2 CUPS WHOLE MILK and 2 TSP PURE VANILLA EXTRACT (NOT IMITATION VANILLA!)** into a bowl. STIR UNTIL SMOOTH.
Add chocolate mixture.
Set bowl in pan/bowl of ice and water. Beat with spoon/mixer until it’s thick BUT not too thick. Make SURE ICING DOES NOT GET WET! The idea is to MAKE THE BOWL IT’S IN COLD BUT TO NOT LET THE ICING GET WET!
Icing tips
If the top layer starts to slide off, for instance because it’s too hot where you are (this happens to us sometimes), you can get toothpicks and put them in the two layers so they stay together. We usually just keep them there and eat carefully but it might be possible to take them out - if you can remove them carefully.
It is quite nice to have a thicker layer of icing between the two layers. If it’s about the same as on the outside of the cake it’s how we do it. If you have leftover icing when done it’s very possibly because of this. However, you can adjust to your desire.
A spatula is helpful when icing the cake. As there are a variety of types, shapes and sizes (often very different in type, shape and size, including flexibility) and as different people will find different kinds/shapes/sizes easier, you’ll have to test it out for yourself. Using a knife probably is not a good idea even if it can work, if you have a spatula.
Although it will depend on preference, I can say that a lot is put on even from the beginning. Just make sure you have enough for all parts. It might be helpful if you consider where you need the icing so you can gauge how much of the icing should be in each place. You’ll want icing on top of the first layer (so between) and all round the cake as well. It is a thick layer in every place. Remember that the icing is fudge!
Don’t put icing under the bottom layer of the cake! This might seem obvious but just in case. When you slice the cake it should be on all sides, except that the top and bottom of the slice will be the cake itself (the icing will be between the two layers of course).
You can and probably should adjust the icing to taste. It is something my mum does too - she will test taste the icing to be sure it’s just right.
Do make sure the icing is cool enough but if you follow the toothpick trick it should help if it is not quite enough.
It is not an exact science. You might very well have to play with it a bit. With different spatulas and also less experience it might take a few tries to get it to where you want it. My mum has been doing this for at least five decades so she’s had a lot of time to experiment with it! In other words don’t worry about it too much.
You do not have to make it pretty like the picture shows. Even if the final result doesn’t look pretty it will not change the taste, supposedly :-) No, it really does not matter. You can try if you wish but if you’re uncomfortable doing it or you don’t know how that’s perfectly fine.
If you have a bit left over (though this should be very little) feel free to lick the spatula and bowl clean! :-)
Jump to: top


